This guide provides the step-by-step process of integrating your UpViral HTML form with a WordPress site.
Important:
We strongly advise using the HTML Form Code when using a free WordPress subscription as the Standard, Pop-up, Universal Capture code, and Pop-Over widget codes may only function properly on WordPress accounts under paid subscription plans.
What to Prepare on UpViral:
First, make sure that your campaign is completed and ready to be installed. Check out How to create a campaign? for a step-by-step process on how to create and launch an UpViral campaign that's ready for installation.
What to Prepare on WordPress:
Opt-in Page on WordPress
Share/Thank You Page on WordPress (if you'll be using a separate page)
Learn how to create your pages on WordPress by following this link.
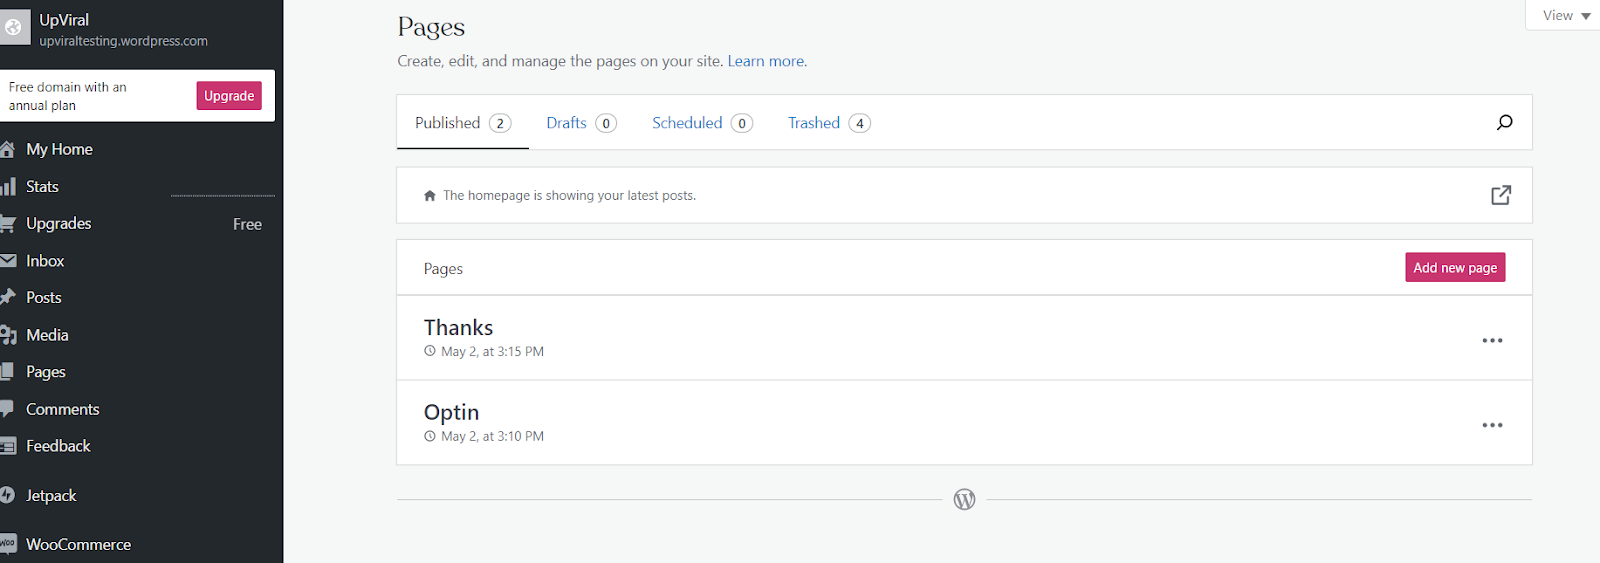
In summary, to create a page, on the left-hand sidebar of WordPress, hover on the Pages option and click Add New:

If you want to use a separate Share/Thank You page, you need to create two pages and then you may name them accordingly.
Installation & Embedding Your Campaign
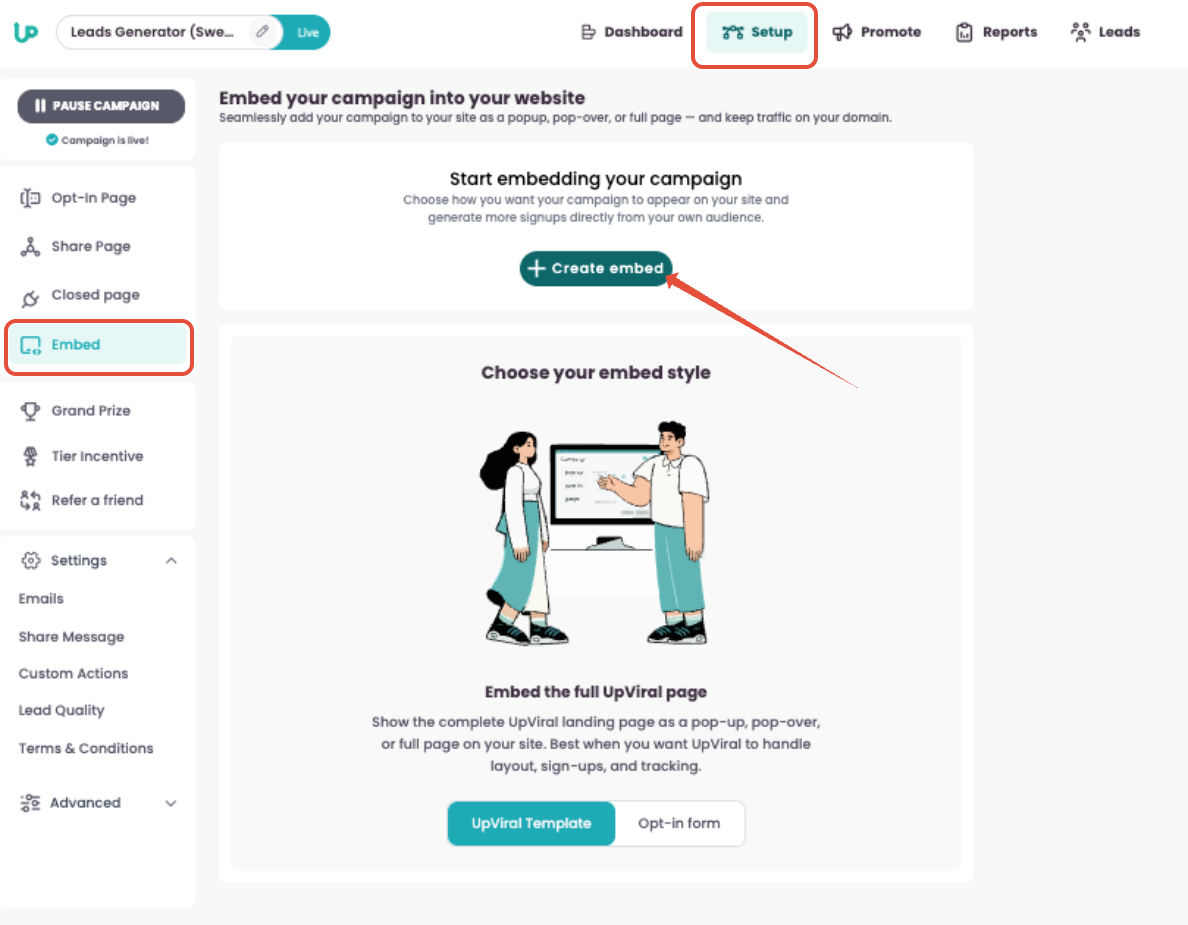
On the SETUP page, click Embed from the left-hand panel. Then click on + Create embed
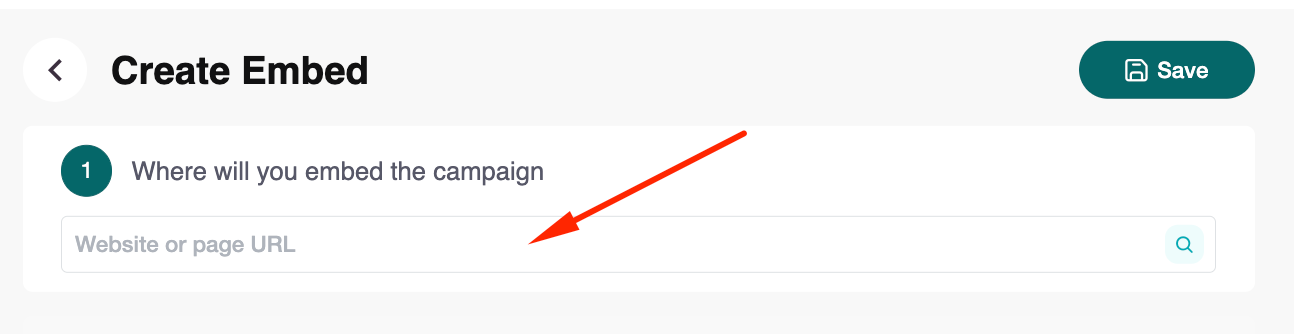
STEP 1
In the Where will you embed the campaign field, type the URL of the website where you want the campaign to appear.
STEP 2
Select Your Opt-In Form
Choose UpViral opt-in form to use the built-in UpViral widget.
Alternatively, choose Your own opt-in form if you prefer to use your site’s existing form.
(For this guide, we’ll select the UpViral opt-in form.)
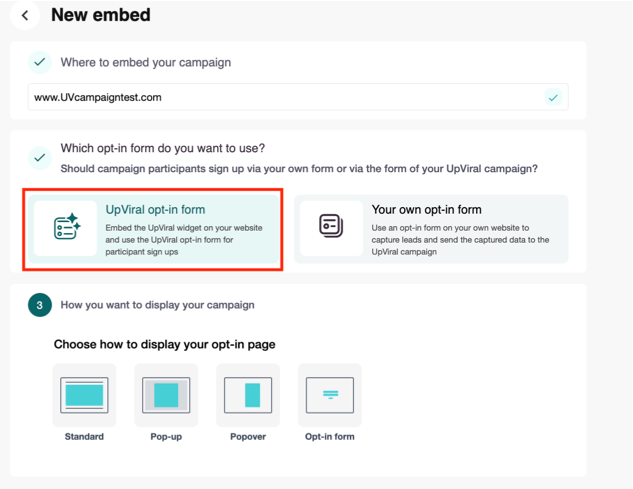
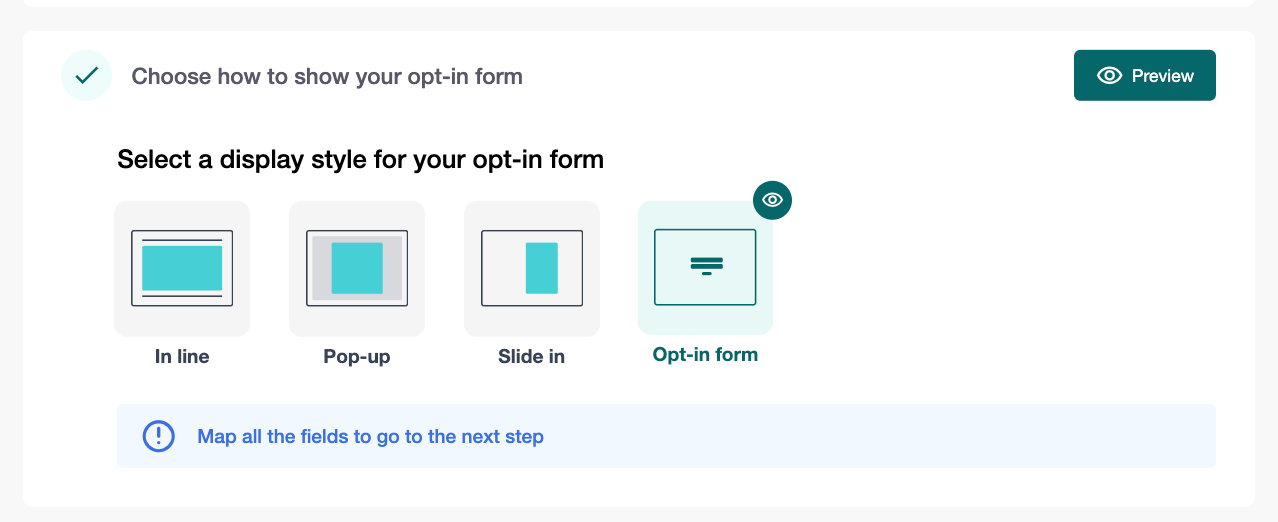
STEP 3
Under How you want to display your campaign, select Opt-in Form.
STEP 4
To display your UpViral campaign, add the following code snippets to your lead capture page:
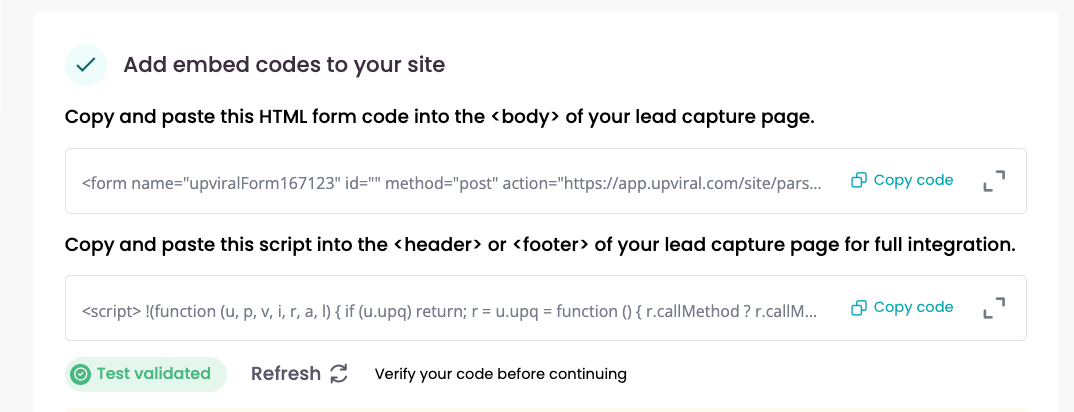
Add Form Code to the <body>
Copy the HTML form code under Embed this code to your site.
Paste it inside the <body> tag of your lead capture page.
Click Copy code to copy this snippet.
Add Script to Header or Footer
Copy the second code snippet under Copy code.
Paste it into the Header or Footer section of your lead capture page.
Click Copy code to copy this snippet.
Test the Embed
Click Test embedding in UpViral.
Make sure your form appears and works correctly before moving to the next step.
STEP 5
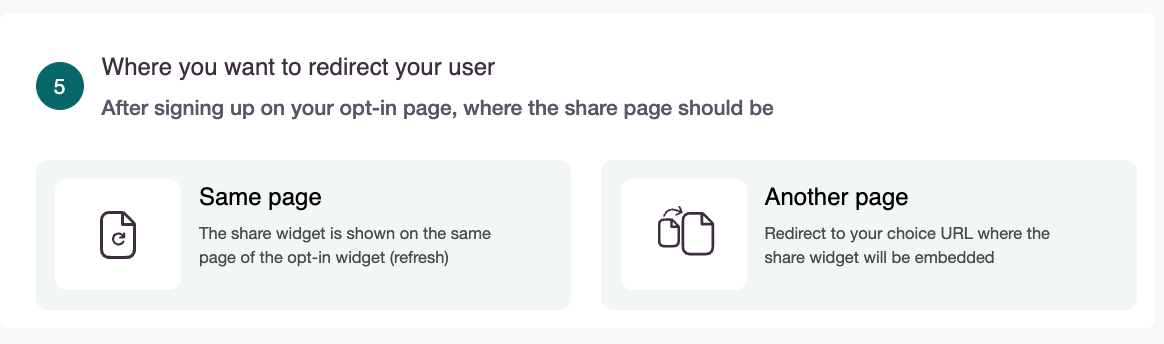
Choose Where to Redirect Users
After a visitor signs up, decide where to display the share page:
Same page – The share widget appears on the same page as your opt-in form (page refreshes).
Another page – Redirects users to a separate URL where the share widget will be embedded.
A. If You Select Same Page
The share widget is shown on the same page of the opt-in widget (refresh). PROCEED TO STEP 8
B. If You Select Another Page, follow the steps below:
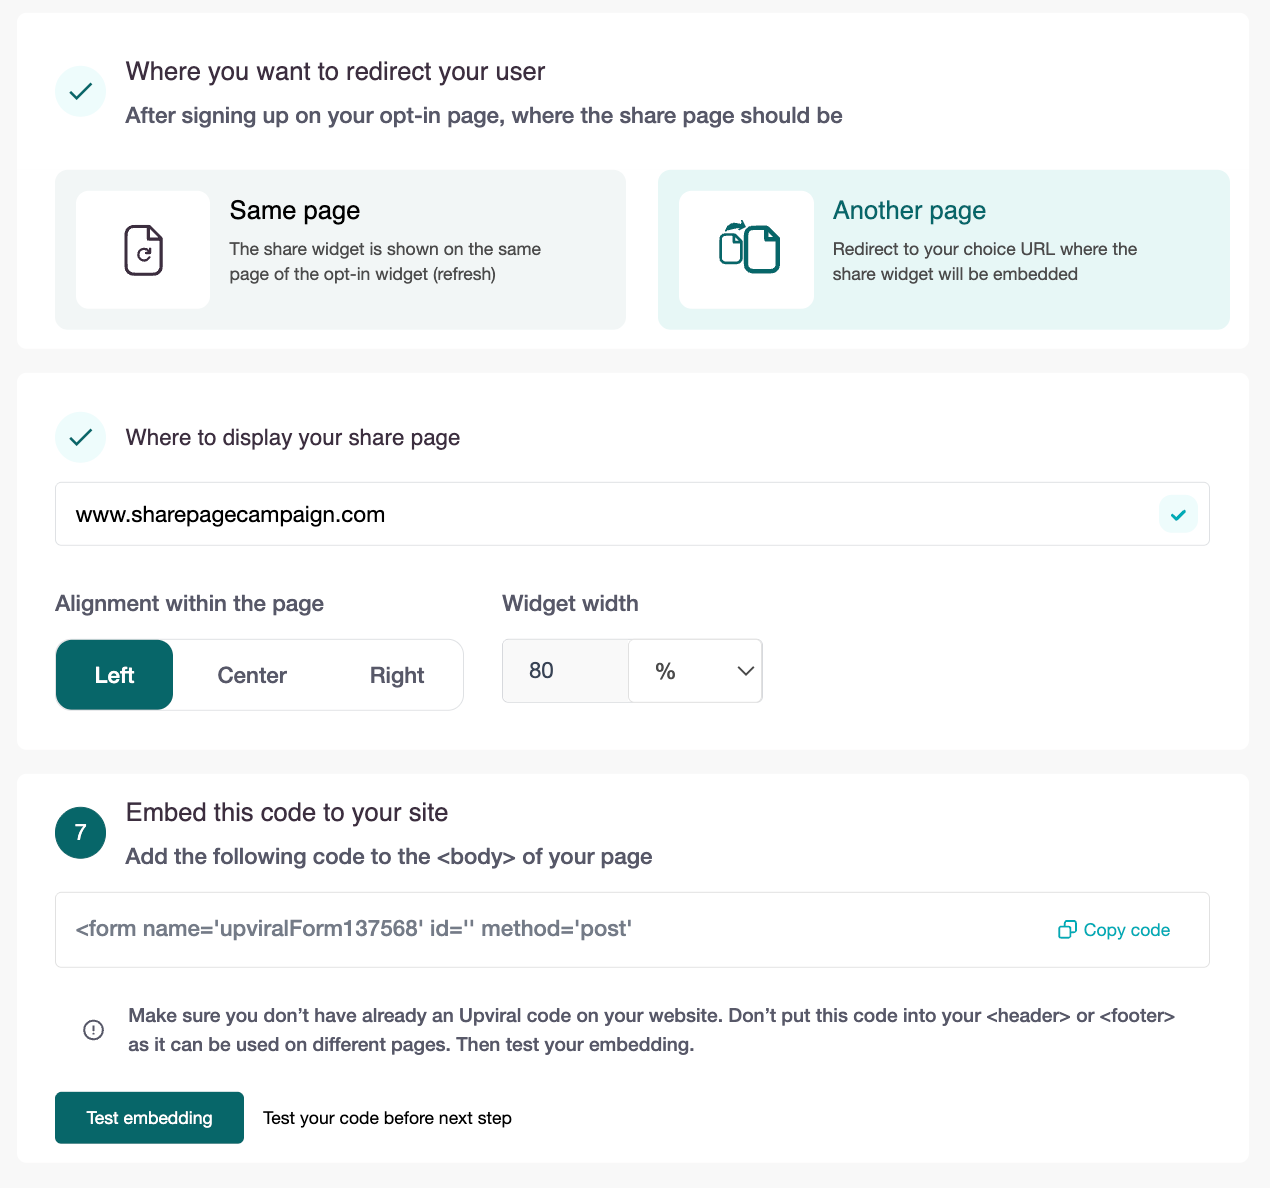
STEP 6 and 7
Specify Where to Display the Share Page
Enter the URL (e.g., www.UVcampaigntest.com).Adjust Alignment & Size
Alignment: Left, Center, or Right
Widget Width: e.g., 80%
Embed the Code
Copy the snippet provided.
Paste it into the <body> of your page.
⚠️ Important Notes:
Do not embed in the <header> or <footer>.
Avoid embedding multiple UpViral codes on the same page.
Test the Embed: Click Test embedding to verify correct display.
FINAL STEP
Redirect Referral Users
Decide where referral leads (users who join via a shared link) will be sent:
Redirect referral users to this embed – Sends all referral traffic to this specific embedded version of your campaign.
Switch off – Referral traffic is sent to:
The UpViral-hosted campaign page, or
Any other website where this campaign was previously embedded.
A. You’ll see a confirmation message: “Your campaign has been embedded successfully!” ?
B. Click on Save and Exit to preview your live campaign.

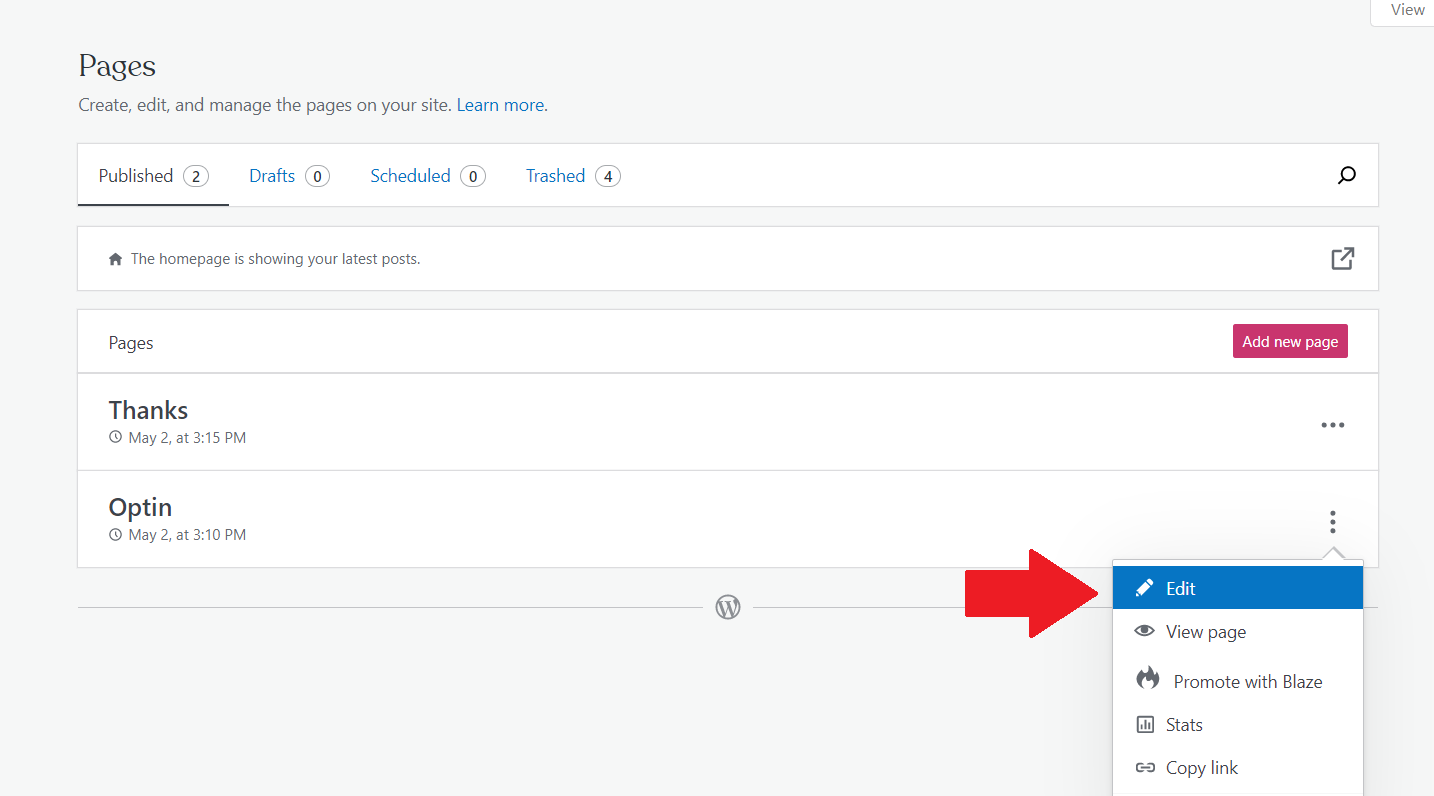
Back to your Pages tab on WordPress, open your WordPress page editor by clicking on the three-dotted button beside the page and "Edit"
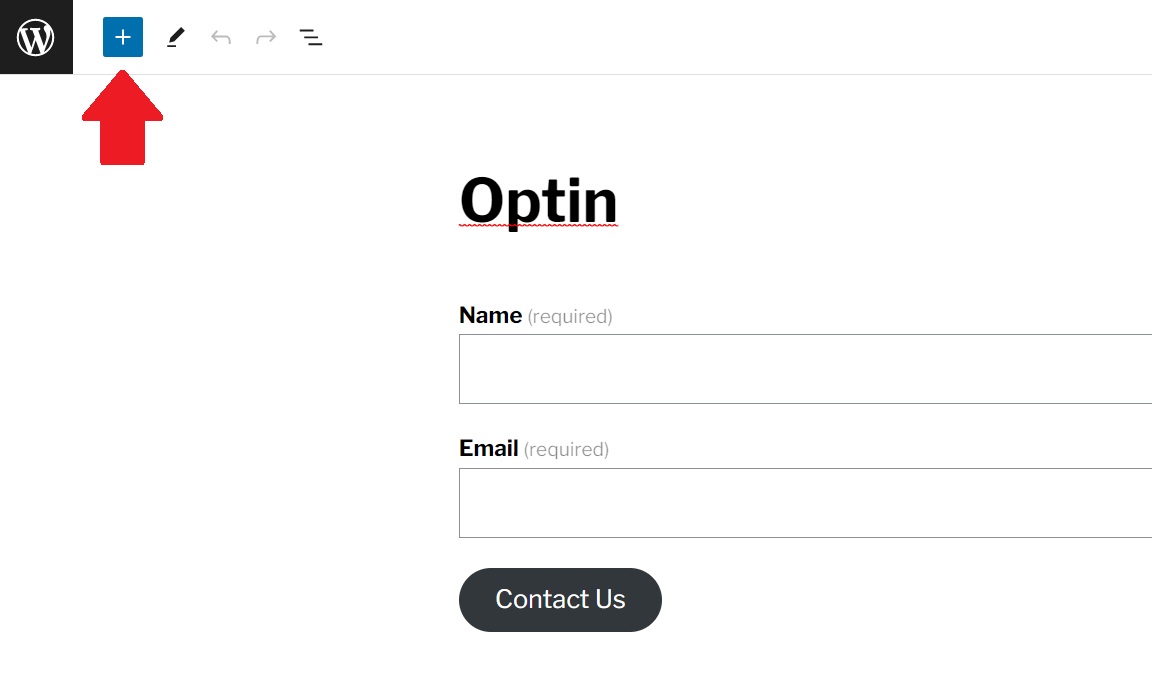
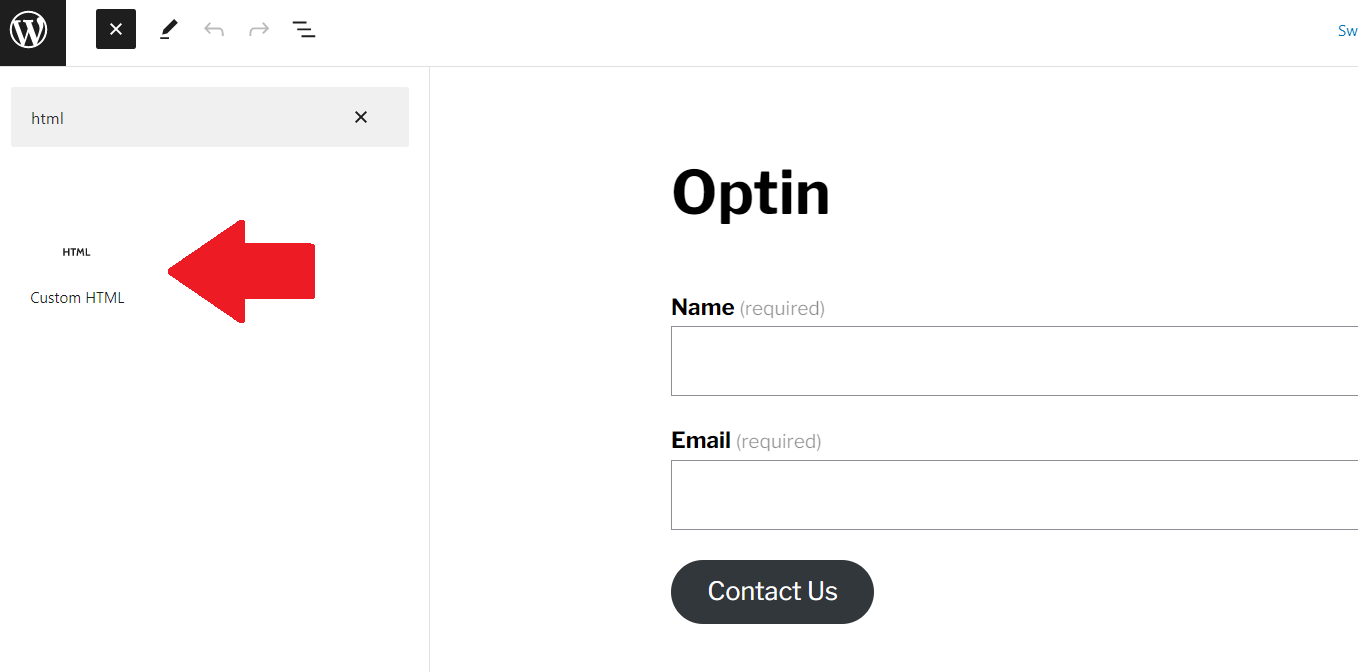
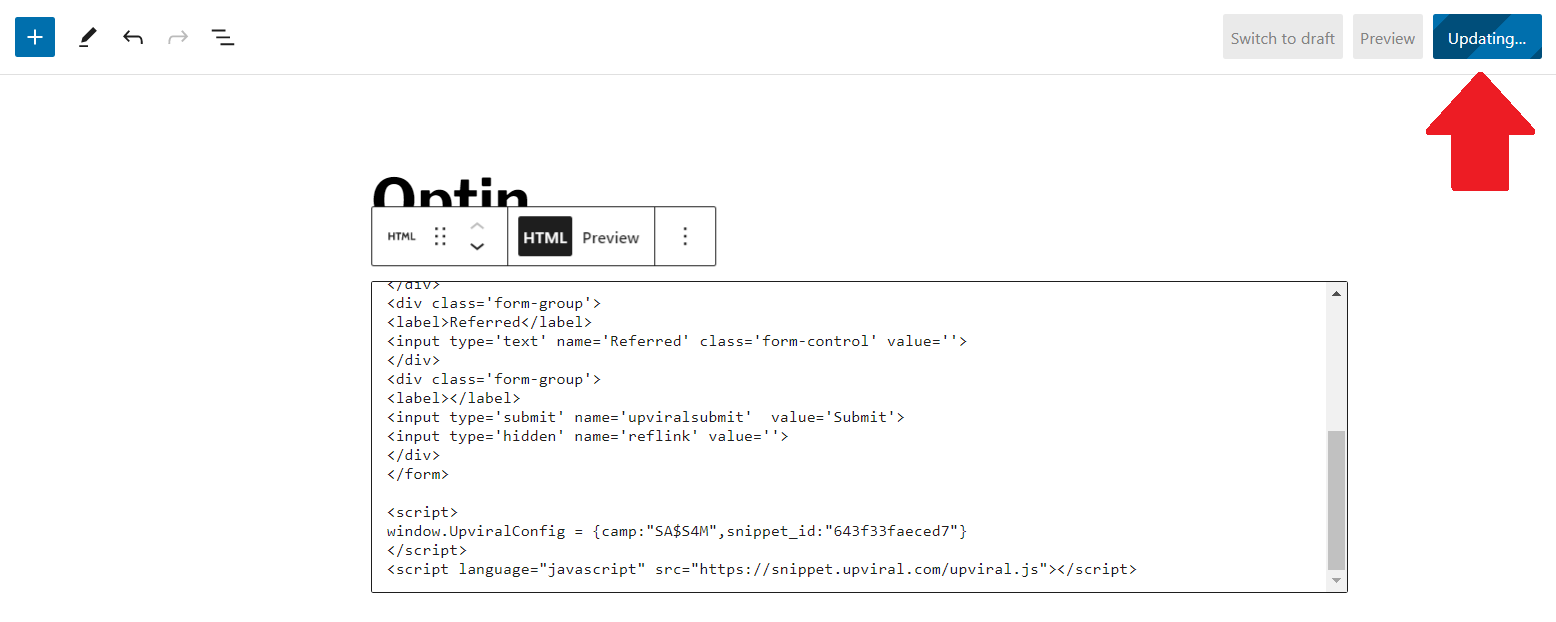
This will open up the page editor where you can click on the + button on the top-left side of the page and search for "HTML"
Drag the Custom HTML box onto your page. Then, paste the first and second UpViral HTML codes on the HTML box. (If you have a separate share page, paste the third code on the share page's editor instead).
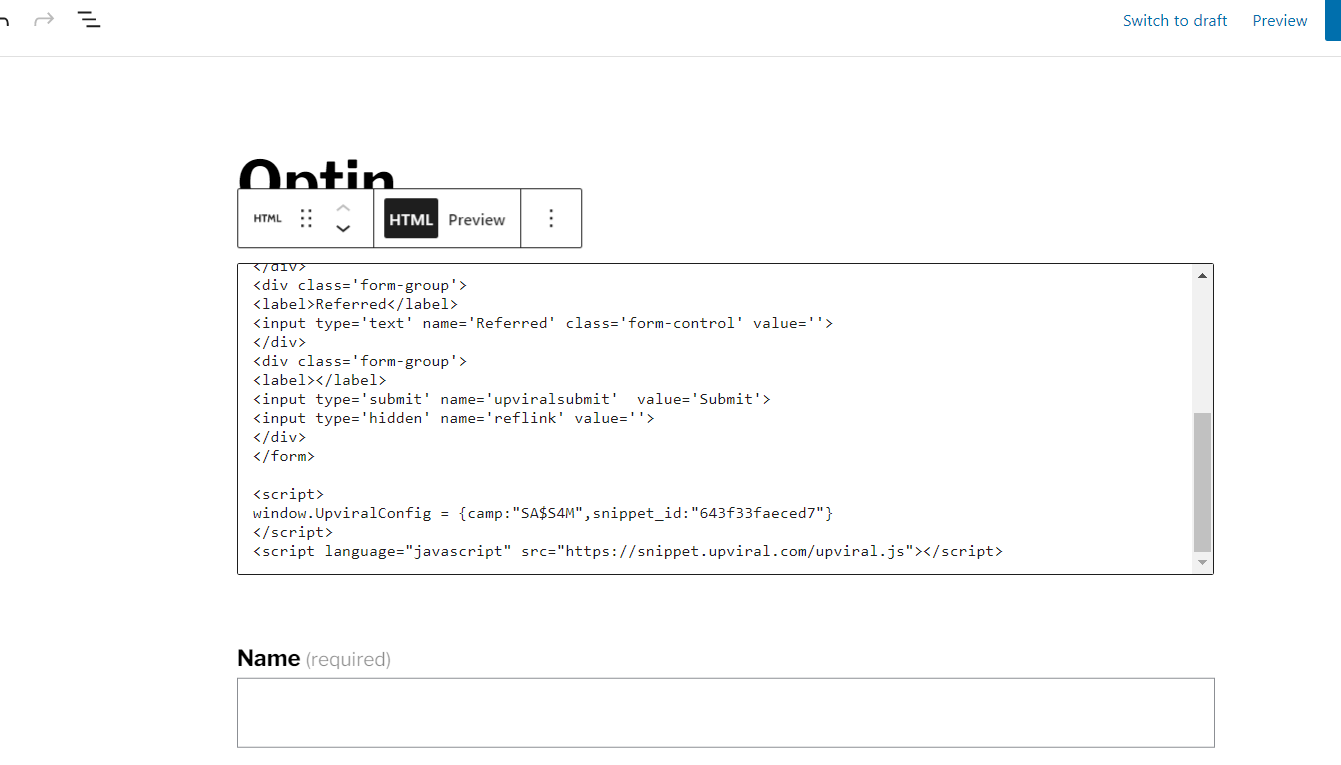
Click Update once done.
Test your campaign by accessing your own website then register for your campaign. If your name and email address is added to your campaign's lead page, you have successfully integrated your Upviral campaign into your own website.
How to get your support tickets resolved faster
Statistics have shown us that the more you tell us when you report an issue, the faster we solve that ticket. So...
1 - If you have screengrabs, please include them. A picture is worth a thousand words.
2 - If you have recorded a video showing the issue you're having, please include that as well. A video is worth a million words.
We recommend a free service called Loom for creating these videos. (this is a link to https://www.useloom.com/)
3 - To speed up ticket resolution, follow these useful tips How to Write the Perfect Support Ticket (That Gets Results Fast)